Jack Robinson | Blog
Hooking up my World of Warcraft Healthbar to my Keychron RGB Keyboard
Recently I brought a new mechanical keyboard here in Japan to help get back into software development after about six months of little to no time programming. As with most keyboards these days, it has been decked out with a bunch of RGB LED under the keys.
What better way to give it a hoon than to build a script to change its colour from Green to Red depending on the health of my character in World of Warcraft?
Keyboard
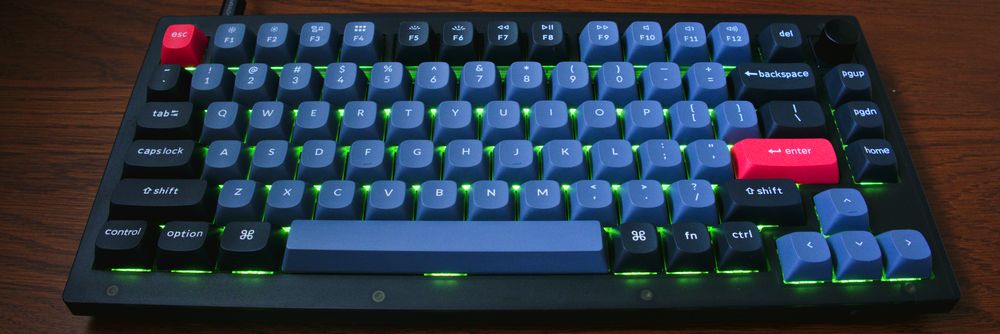
The keyboard I picked up is a Keychron V1 with Pro Red keys (my partner would have gone loopy if I got the clicky keys in a tiny room like our apartment here in Tokyo). I’ve had it for a little over a day now, and it’s a dream to type on.
However, immediately as I plugged it I was met with a cacophony of RGB lights spewing over the keyboard. I wouldn’t say I’m a massive purist when it comes to my computer gear, but I don’t actively seek out RGB. However, in this case, it seemed like a fun project to attempt to control the LED with something running in the background. As a software developer, there’s something forbidden about messing with hardware, it’s hard not to give it a go.
One of the selling points of the Keychron is that it’s using the open source QMK firmware. Hardcore MechKey enthusiasts will tell you they flashed their own QMK firmware, but rather than run the risk of bricking the very expensive keyboard a day or two after I bought it, I sought out different ways to manage the RGB lighting.
VIA
Managing RGB on the keyboard is a bit of a dark art, at least from the cursory look I had on Google. Looking on Reddit, there was even more confusion as many were like “Add this into your QMK config” which was what I was specifically trying to avoid. QMK themselves show extensive C docs on how you can manage your RGB lights - but we can’t have that. Imagine me, a webdev code monkey trying to mess with some arcane C code? I’d probably inadvertently set my fridge on fire in the process.
Keychron’s docs offer up VIA as an option. VIA allows you to configure macros and the lighting behaviour of your keyboard from their open source app (which runs in your browser!).
Emphasis on the “open source” and “in your browser” part of this. If VIA can configure my keyboard, then in its source, it must explain how one might modify the keyboard itself. And the browser means I get a whole debugging setup for free!
USB HID
VIA, under the hood uses node-hid, an NPM library for interacting with USB HID
devices. HID is “Human Interface Device” which basically means whatever you use
to interact with your computer, it’ll probably use the USB HID specification to
communicate.
Reading through their code, I stumbled across keyboard-api.ts
which is their wrapper around communicating with the HID device. From there, you
can load up the app locally, put breakpoints in the code in the functions we
care about, and work your way up the tree to see how the function is called, and
with what information.
Having had messed with Serial and other communication protocols in the past (I once tried to connect my bluetooth digital piano to RuneScape, but that failed) this was nothing overly scary, so in a nutshell here’s a naive look at whats going on.
node-hid will create a Device object which wraps communication with your
device, however to do this, you first need to identify the correct device. This
is done by identifying the vendor (manufacturer) and the product, both using a
unique id. For the Keychron V1, I found this from their own specification in VIA
which is used to tell the app how to configure the keyboard. The configuration
for my V1 is here.
From this JSON file, I can see that Keychron’s ID is 0x3434 and the product is
0x0311. With this information, I can tell node-hid to connect to the device
for me:
const device = new HID.HID(VENDOR_ID, PRODUCT_ID);
From there, we have a connection! But what do we send it?
Bytes
It’s probably specified in the USB HID spec somewhere, but VIA itself will send 32 bytes of information to the keyboard, its contents describing what it wants the keyboard to do. Figuring out what those bytes are is the hard bit.
Thankfully, through the power of breakpoints, I have a basic idea of what to send your keyboard in order for its colour to change. Please note, I’m only going to concentrate on solid colour changing as part of this, rather than addressing individual lights - that’s a project for another day, and in the grand scheme of things, keeps the code easy peasy.
First off, we create an array with 32 indicies - 32 bytes - and fill it with 0
(equivalent to 0x00) The first byte needs to tell the interface that we’re
sending a command, which funnily enough is also 0x00. Next, we need to tell
the device what we’re doing.
VIA uses the byte 0x07 to specify BACKLIGHT_CONFIG_SET_VALUE which despite
digging through the QMK firmware, I couldn’t easily find where that comes
from.
After that, we use 0x83 to tell the firmware we’re setting it using
QMK_RGBLIGHT_COLOR which is actually a hue and saturation value.
Their docs have a good diagram showing the colours, and their respective values
Then we use the next two slots to determine its hue and saturation. We then end
up with[0x00, 0x07, 0x83, 0x5F, 0xFF, 0x00...] which is a command telling the
keyboard to change to fully saturated green.
And just like that, we can now write some simple code to change the colour of the keyboard RGB
function setColour(device, hue, saturation) {
  const buffer = new Array(32).fill(0x00);
  // buffer[0] already set to 0x00
  buffer[1] = BACKLIGHT_CONFIG_SET_VALUE;
  buffer[2] = QMK_RGBLIGHT_COLOR;
  buffer[3] = hue;
  buffer[4] = saturation;
  device.write(buffer);
}
World of Warcraft
With the hard part out of the way, we need to find a way to interact with World of Warcraft, and get the healthbar information.
World of Warcraft does have a pretty substantial AddOn API, but it has some limitations, especially in this case.
- You cannot run scripts that talk to external programs.
- You cannot save information to disk at will.
- You cannot send information out to an endpoint.
Despite all that, there’s a cursed option we can try - what if we just take a screenshot of the healthbar, and determine how much of it is health, and how much damage you have taken?
Delightfully devilish, Seymour.

Screenshot
I’m writing this on my Macbook, and MacOS has a utility called screencapture.
Helpfully, you can pass it a filepath, and a set of dimensions that it’ll
concern itself with. The idea is, we take a screenshot, 1px high that spans the
bar, and save it to our tmp directory. All that is needed is to load it up,
analyse the pixels, and send a colour corresponding to our current health.
const green = 64;
const red = 0;

await function run(device) {
  // Call `screencapture` and save the file to /tmp
  await captureScreenshot();
  // Reads the file, and returns a value 0-1
  const ratio = await analyseScreenshot();
  const hue = lerp(red, green, ratio);

  setColour(device, hue, 255); // 255 is just straight colour
}
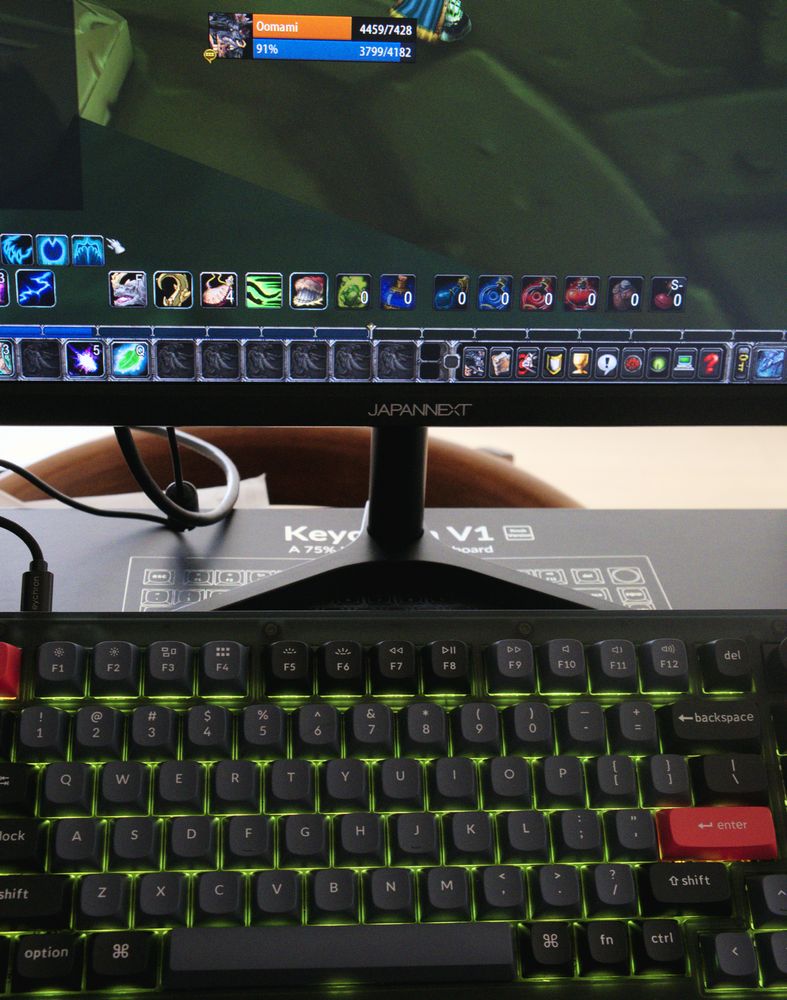
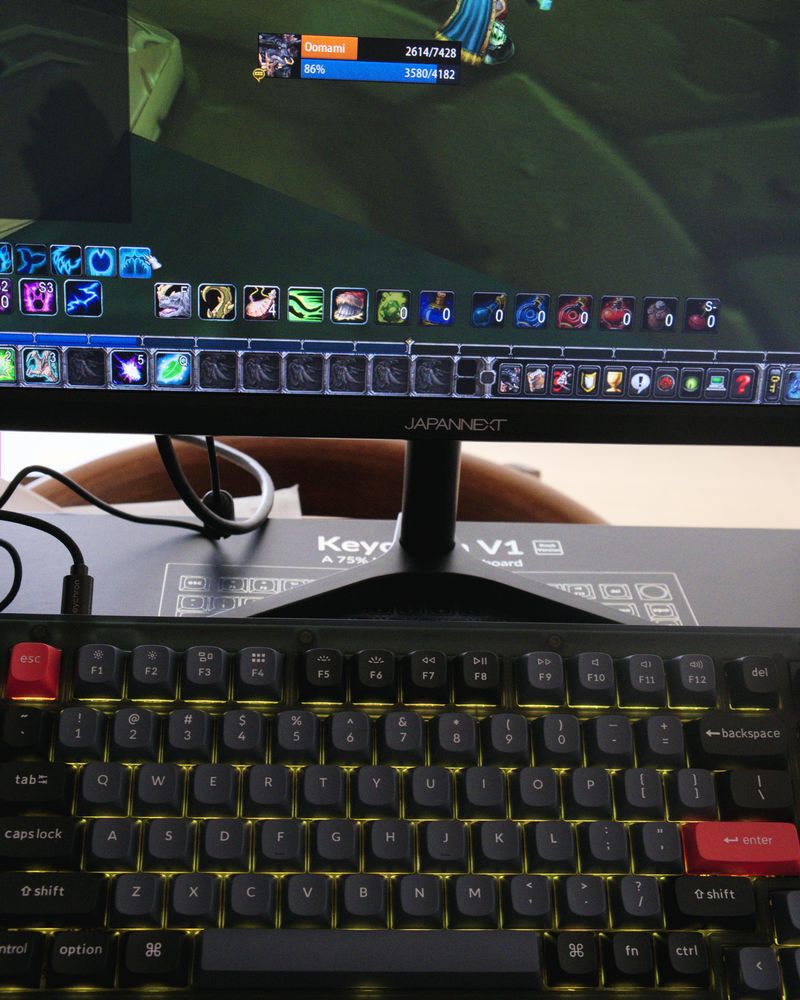
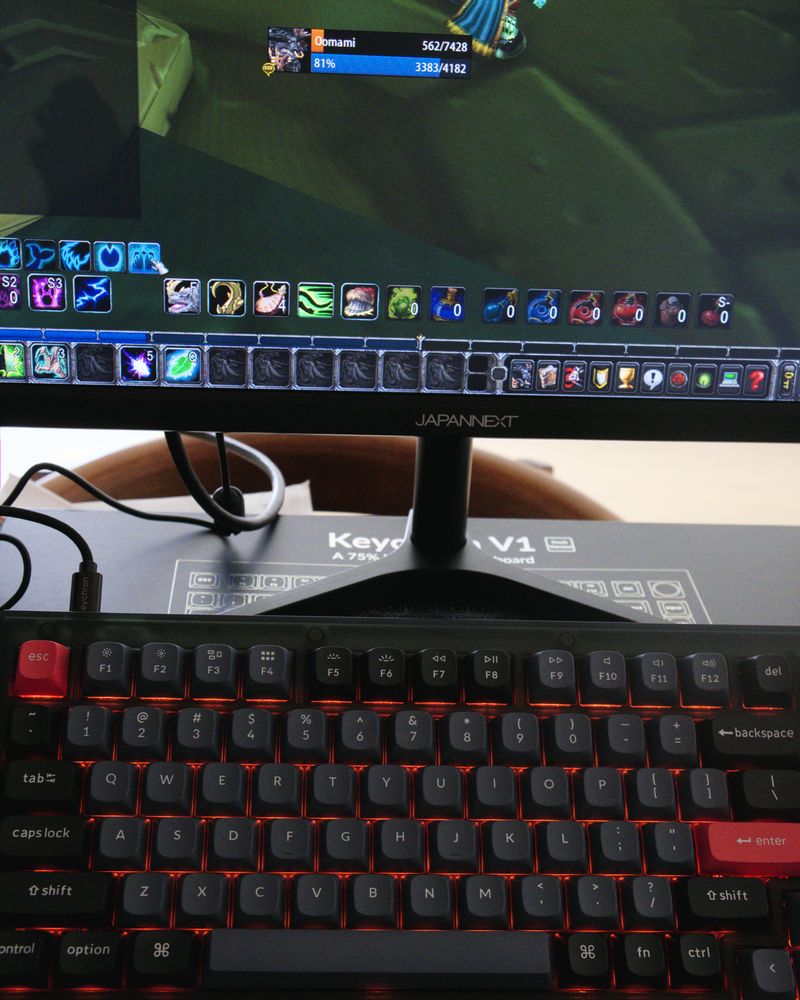
Once you hook it up to a setInterval you will end up with something like this:

Conclusion
And thats it! The full code can be found here. You’ll need to install a couple of packages - node-hid which are the brains behind the operation, and jimp which is used to query the screenshots.
Near the beginning of the post, I mention that I was pretty naively setting this up. It was only intended as a means to get back into code, and play with something fun. Because of that, there are some issues with the code posted above.
- Sometimes,
node-hidjust won’t connect to the keyboard. I don’t know why, but I think if I did a more in-depth dive intoVIAI could see how they handle it. - Updates to the LED can be a little delayed. It’s a mix between the 1000ms
setIntervaland the limitations of USB HID. Again, requires a bit of work.
I’m using Shadowed Unit Frames, a WoW Addon that changes the colour of your healthbar to the class you’re playing. I like this, and while SUF allows you to set a standard health colour, I thought I could be clever and just compare the colour at the beginning and end of the screenshot to understand if you’ve taken damage or not. This leads to two problems.
- Firstly, SUF adds, well, shadows to your healthbar. This means the pixel colours are just very close to being the same, but aren’t. So I have a
kindaEqualsfunction that just checks the colour is within 5 or so rgb values of one another. Seems to work okay! - Secondly, if you’re dead, then both ends of your healthbar will be the same colour, and the script thinks your healthy. Simple solution is to just hardcode the no-health colour, but eh.